1. Install and activate
Install the plugin like any other — from the WordPress Plugin Directory once it's published there, or as a direct upload for early testers. See the download page for the current install method.
On activation, you're redirected straight to the Access Glow setup screen in your WordPress admin, opened on the Get Started tab.
2. Get Started: download the app and create your account
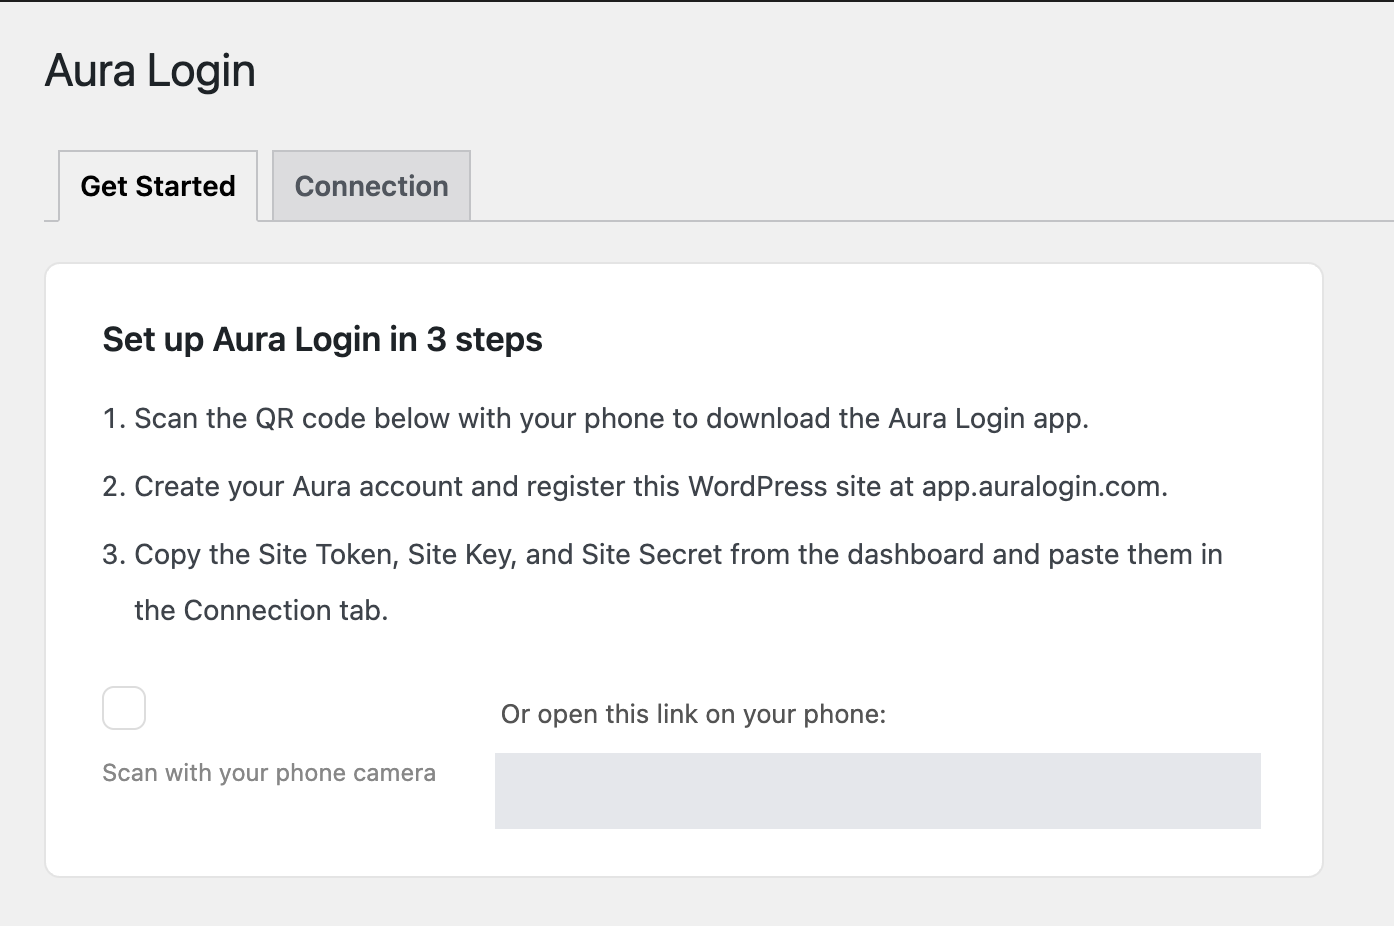
The Get Started tab walks through the three things you need before the plugin can do anything:
Scan the QR code shown on this tab with your phone's camera, or find Access Glow on Google Play / the App Store.
Sign up in the app. This account is what your login approvals are tied to — it's separate from your WordPress account.
From the app (or the dashboard at app.accessglow.com), register your WordPress site to get a Site Token, Site Key, and Site Secret.
3. Connect: paste your credentials
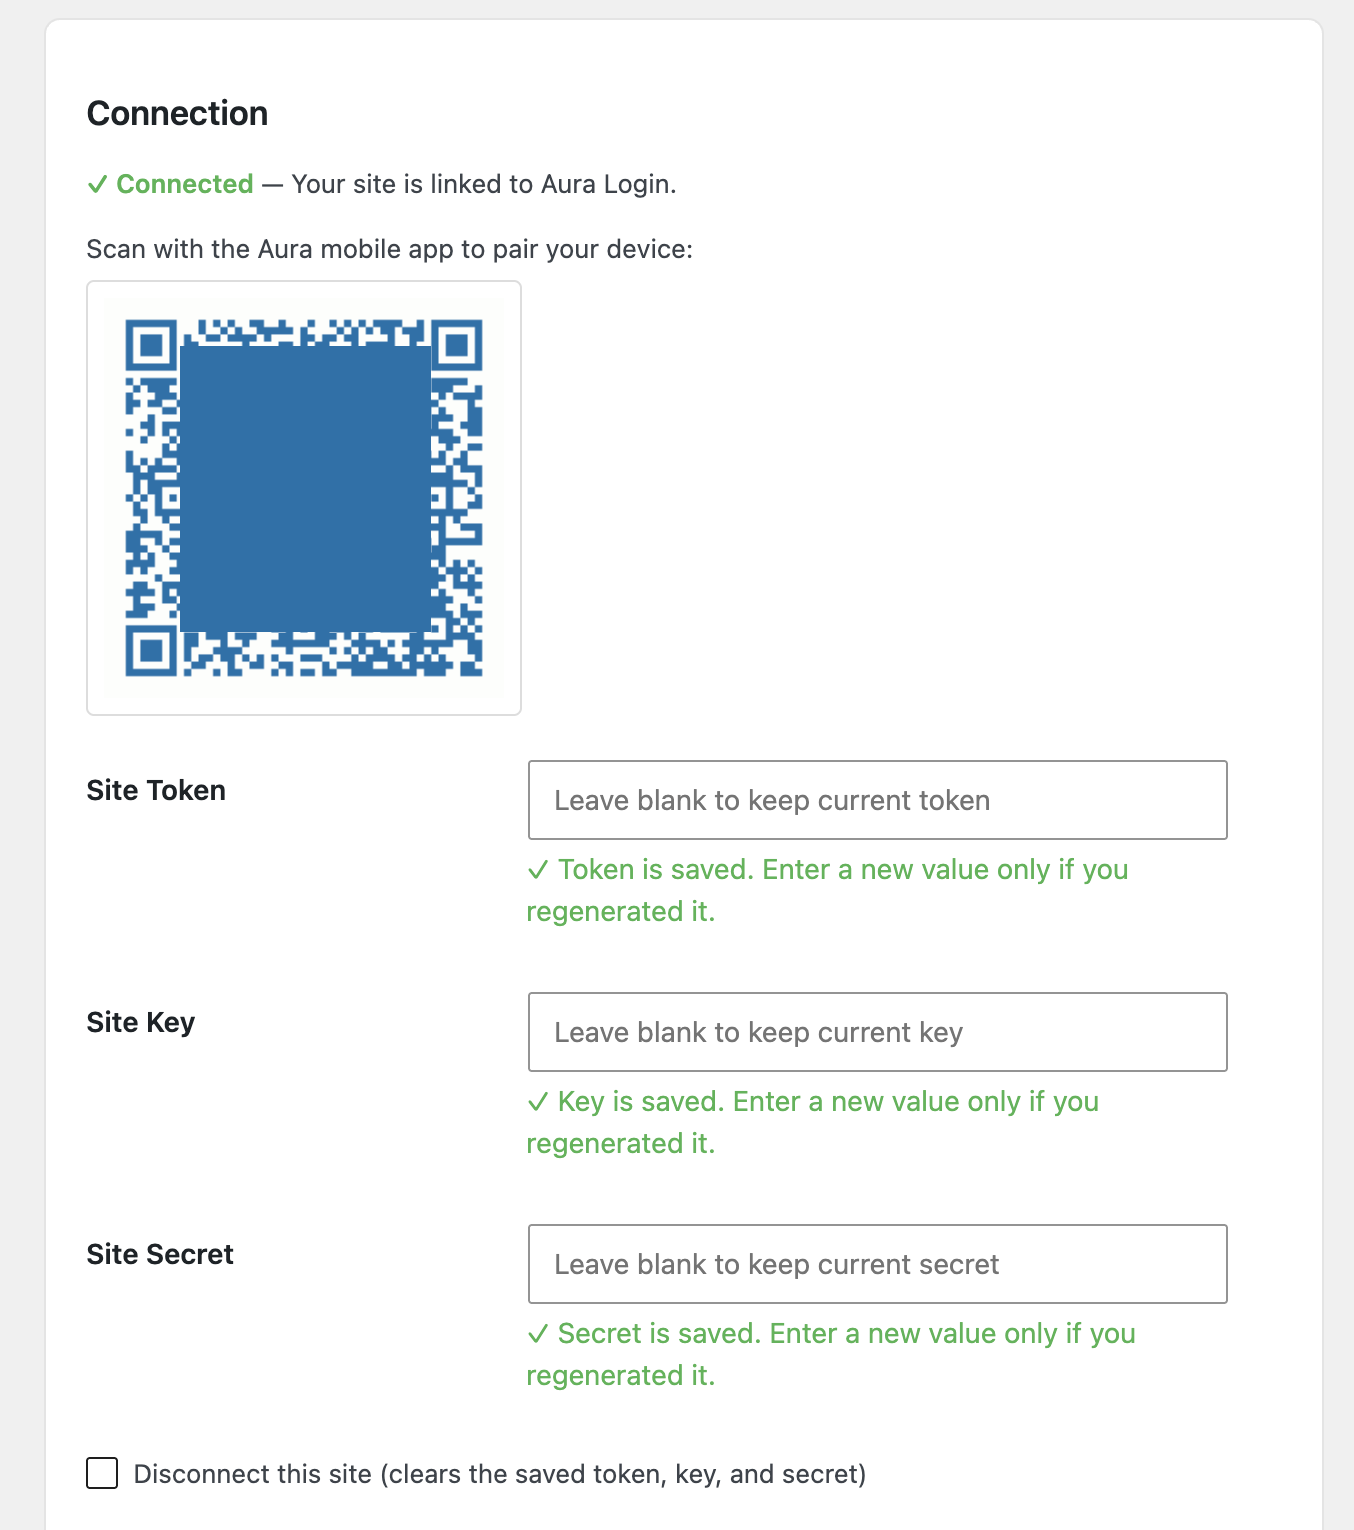
Switch to the Connection tab and paste the Site Token, Site Key, and Site Secret from your Access Glow dashboard. ClickVerify & Save Credentials — the plugin checks them against the Access Glow service before saving anything.
Token, Key, and Secret fields are masked once saved. Leaving a field blank on a later save keeps its current value; there's a separate "Disconnect this site" checkbox if you actually want to clear them.
The same tab shows a QR code for pairing — scan it with the app to link your phone to this specific site.
4. What your visitors see
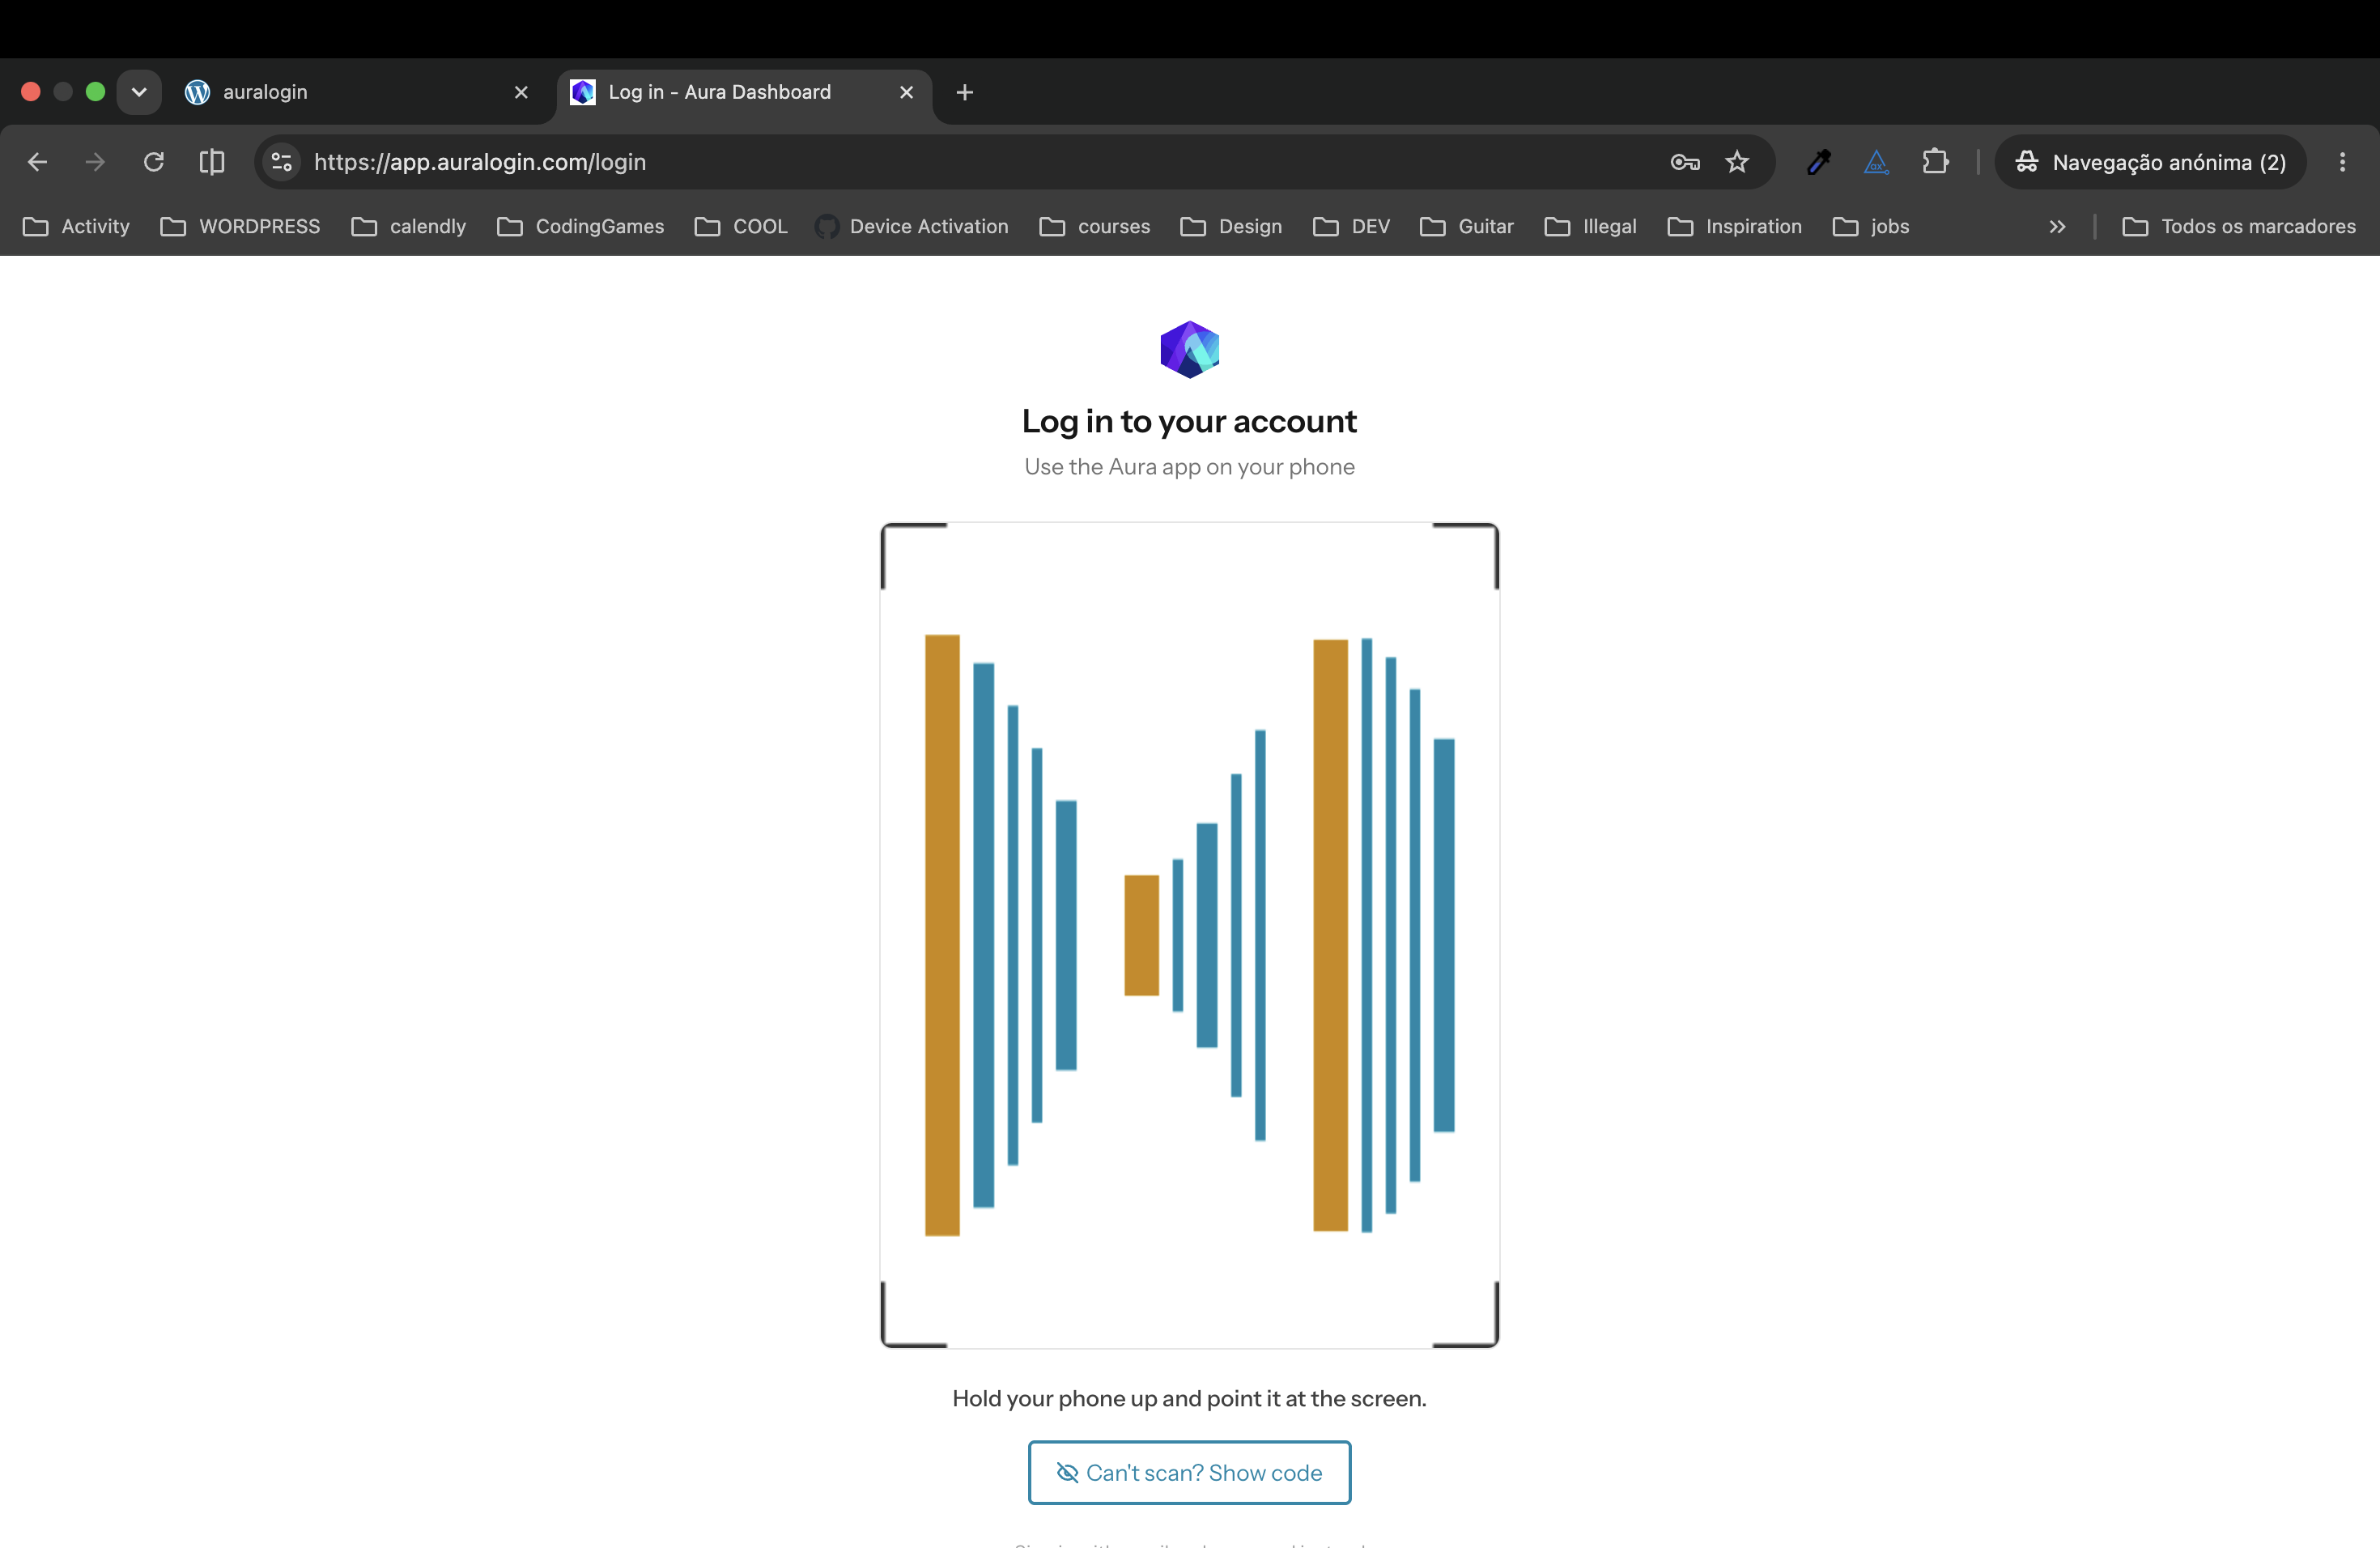
Once connected, your login page shows an animated visual code instead of username/password fields — a fresh, unique pattern for every login attempt.
Can't scan? A 3-digit fallback code is available below the animation, hidden behind a privacy toggle so it isn't visible on screen by default.
If the Access Glow service is temporarily unreachable, the page falls back to a visible classic username/password form automatically — visitors are never locked out because of a connection issue.
5. Approve from your phone
Open the Access Glow app, point your camera at the screen (or type the 3-digit code), and confirm with your fingerprint or face. That biometric check is required — a scan alone doesn't complete the login.
The browser polls in the background and signs you in the moment approval comes through, no page refresh needed.
6. Manage every site from one app
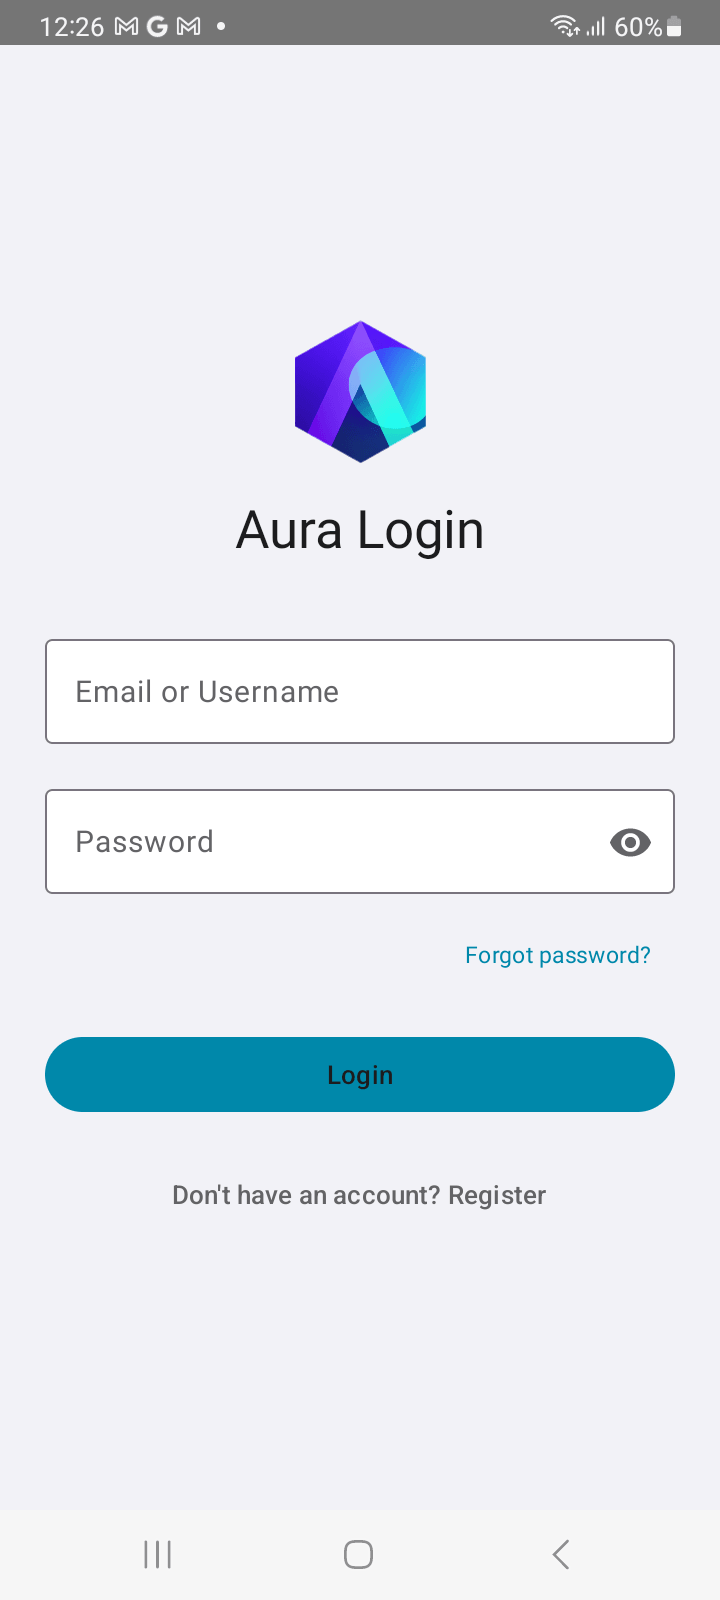
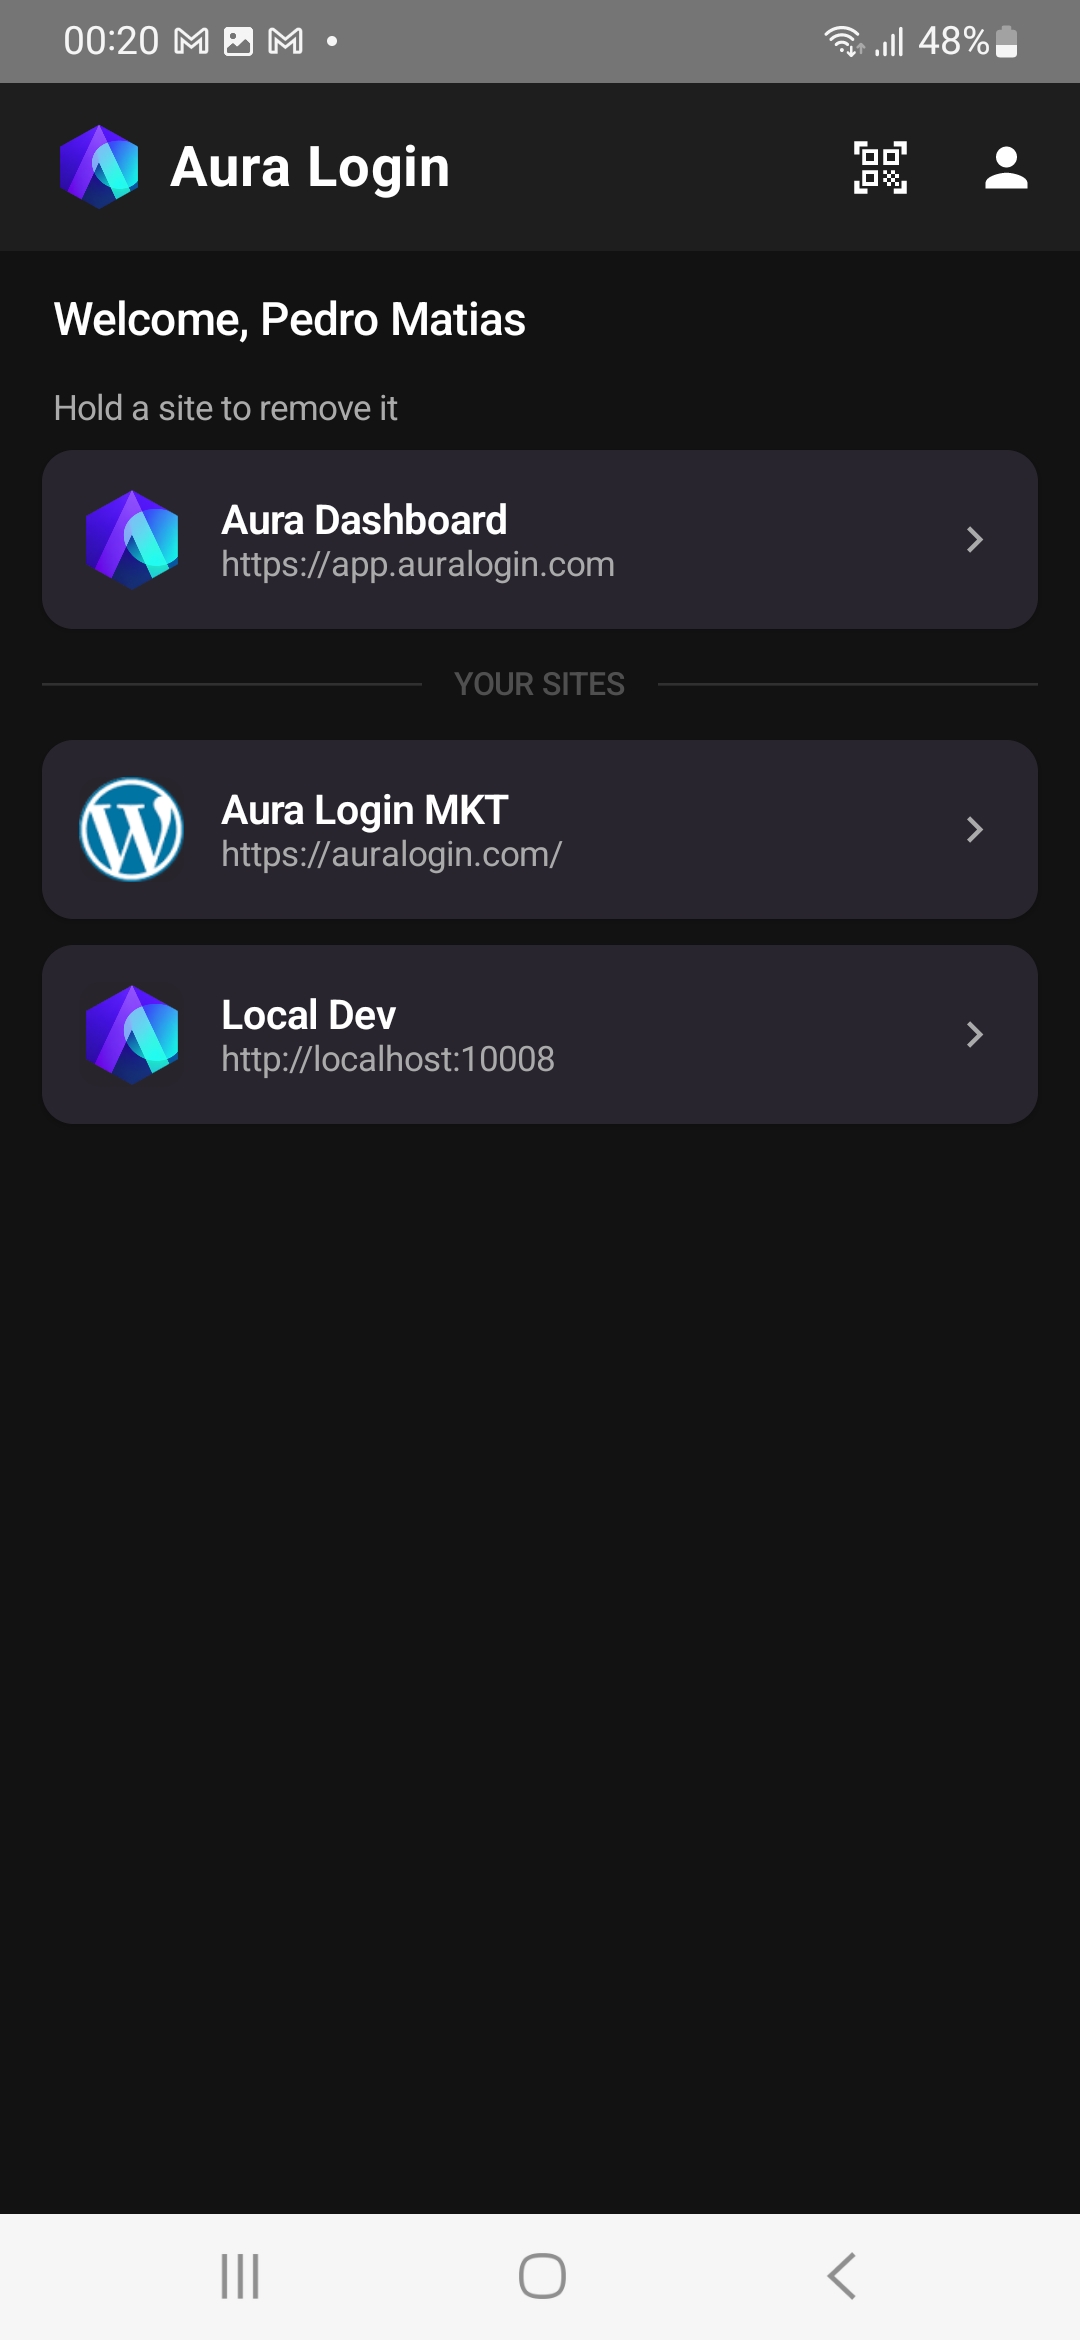
The Access Glow app isn't scoped to a single WordPress install — one account can hold multiple registered sites, each with its own connection and approval history.
You can also manage sites from the dashboard atapp.accessglow.com, including rotating credentials and reviewing who's enrolled.
7. Configuration options
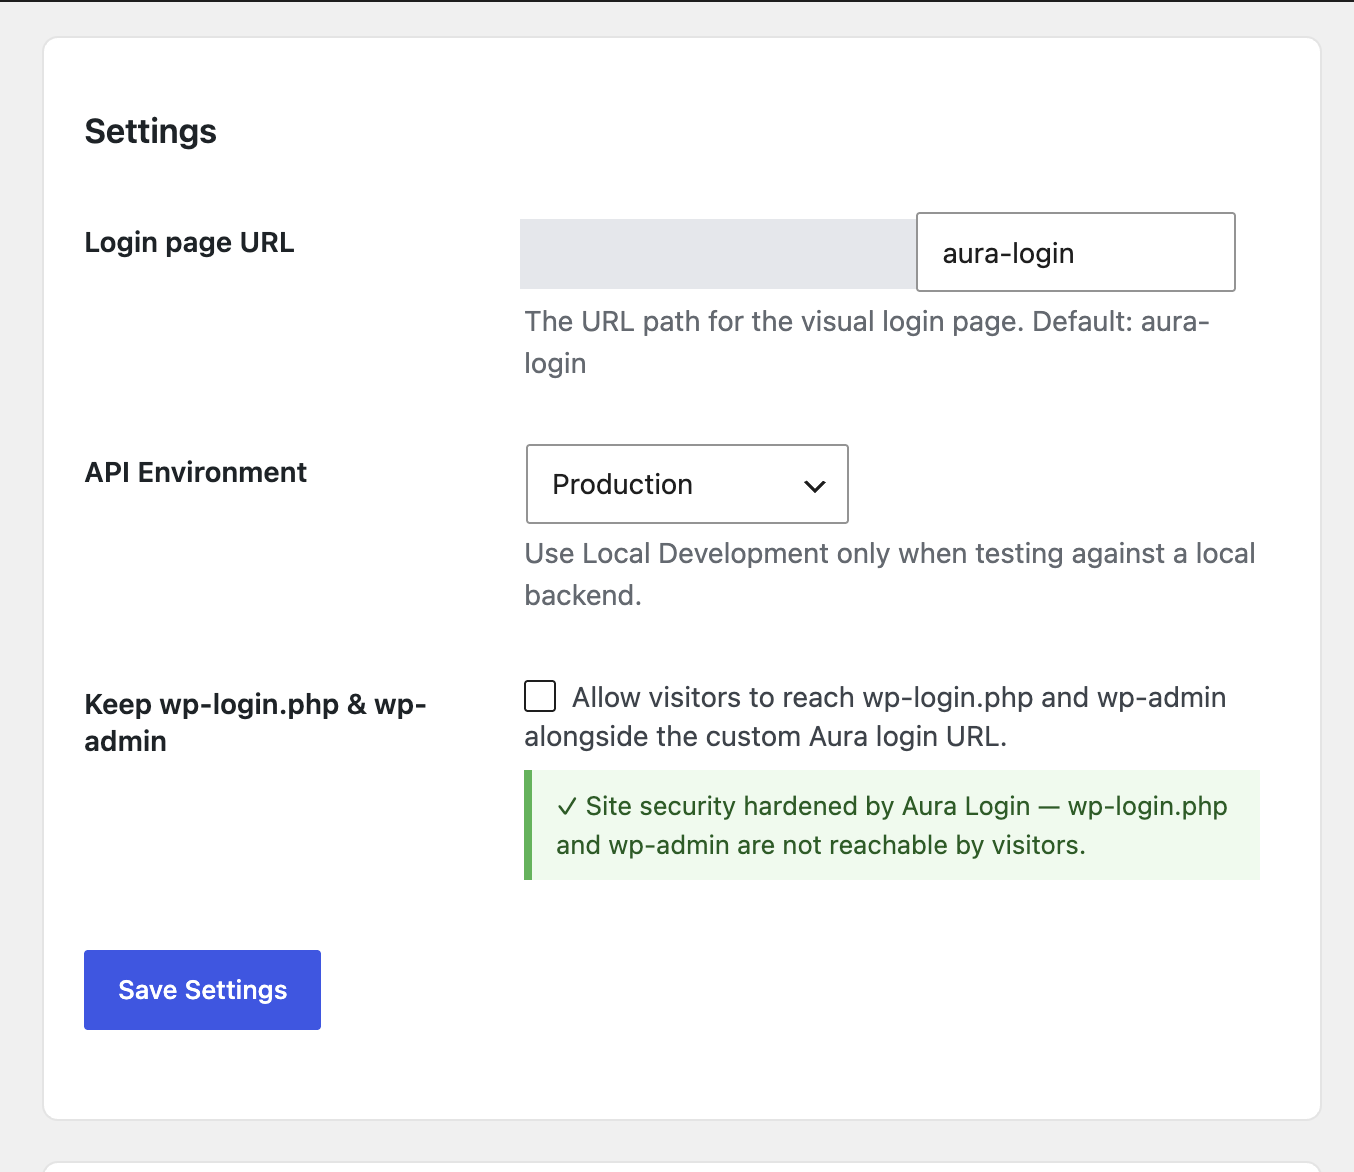
- Custom login URL. Change the login page slug from the default
/aura-loginto anything you prefer. - Keep canonical login endpoints open. By default,
wp-login.phpandwp-adminredirect to the Access Glow login page for logged-out visitors. A setting lets you keep them reachable instead, if you rely on tools or workflows that expect the standard WordPress login URL. - Login Records. A dedicated admin screen logs every authentication event on the site, so you have an audit trail independent of the Access Glow dashboard.
Ready to install?
Head to the download page for current install instructions, or read the security overview for how the visual authentication protocol works under the hood.